
10 Cheap Girls Night Craft Ideas That Feel Anything But Cheap
Nobody wants to spend $60 on a craft night that lasts two hours. But „budget-friendly” doesn’t have to mean uninspired — it just means you’re being smart about it. Some of the most memorable girls nights happen around a kitchen table with dollar store supplies and a good playlist, not at an expensive class with a waiting list.
These cheap girls night craft ideas are proof that you can host a genuinely fun, creative evening without the financial guilt. All of them cost under $5 per person, most need zero experience, and every single one is worth making.
The best cheap girls night craft ideas use simple, low-cost supplies like candles, air-dry clay, pressed flowers, or friendship bracelets — all under $5 per person. They work best when everything is prepped in advance so guests can jump straight into the fun. No experience needed, no expensive kits required — just good company and a creative idea.

The secret to a great craft night on a budget? Choose one project, prep the materials in advance, and let the conversation flow. You don’t need 10 options — you need one really good one that everyone can do at their own pace.
If you love cozy evenings at home, you might also enjoy our list of 50 gentle hobby ideas for women — perfect inspiration for solo creative nights too.
1. Hand-Poured Soy Candles
Candle-making is one of the most satisfying cheap girls night craft ideas out there — and the results actually look expensive. All you need is a bag of soy wax flakes, a few wicks, and any old glass jars or mugs you have lying around. Add a couple of drops of essential oil for scent and you’re done. Total cost per person: around $3–4 if you split a bulk bag of wax.
The best part? Everyone goes home with a finished candle they made themselves. Light it that same night or save it for a cozy evening in.
2. Air-Dry Clay Trinket Dishes
Air-dry clay is one of the most forgiving craft materials you can work with — and a single $4 block from a craft store is enough for 4–5 small dishes. Roll it out, press in a leaf or lace for texture, shape the edges into a little bowl, and leave it to dry overnight. Once dry, it can be painted or left natural.
These tiny dishes are perfect for holding jewelry, keys, or a little bit of everything on a nightstand. They look like something you’d pay $18 for in a boutique.
3. Pressed Flower Bookmarks
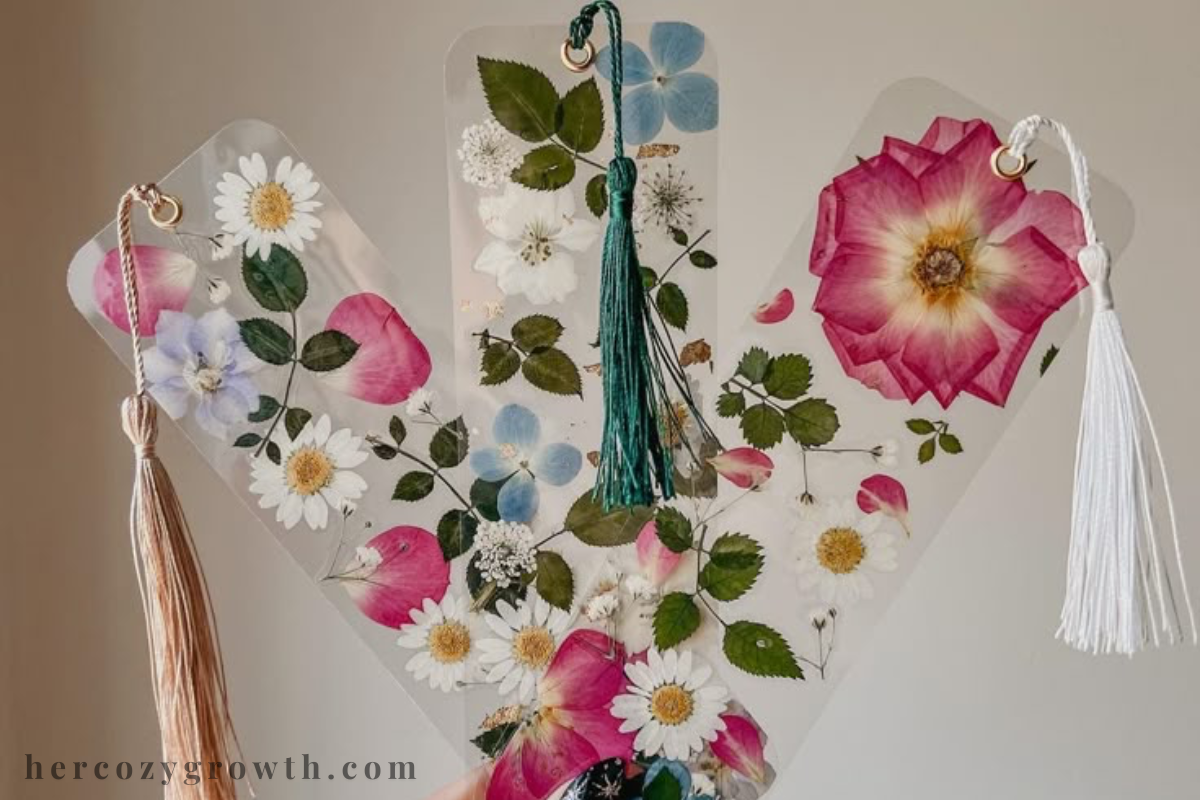
This one is almost embarrassingly simple and wildly satisfying. Collect flowers from your garden or grab a small bunch from the grocery store (usually under $3). Press them between heavy books for a few days beforehand, then laminate them onto cardstock strips. Add a ribbon loop at the top and you have a genuinely beautiful bookmark.
If you want to skip the waiting, press flowers between parchment paper with a warm iron — it works in minutes and gives you the same flat, dried result.
4. Friendship Bracelets — But Make Them Elevated
Classic friendship bracelets are having a serious moment right now, and for good reason — they’re cheap, portable, and deeply satisfying to make. Buy a pack of embroidery thread (a full set costs around $4–5) and look up a simple chevron or spiral pattern on YouTube. Within 20 minutes, even beginners have something wearable.
The trick to making them feel grown-up is choosing a tighter color palette — think neutrals with one pop of gold or terracotta — instead of rainbow brights.
5. Nature-Print Tote Bags
Grab a pack of plain canvas tote bags (often $1–2 each from craft stores or Amazon in bulk) and use leaves, flowers, or cut vegetables as stamps with fabric paint. Slice a bell pepper in half and it prints like a rose. Celery cut at the base prints like a flower bouquet. It sounds a little chaotic and it is — in the best possible way.
Everyone gets to take their tote home, and the whole thing costs under $3 per person if you split the fabric paint.
6. DIY Scrunchies
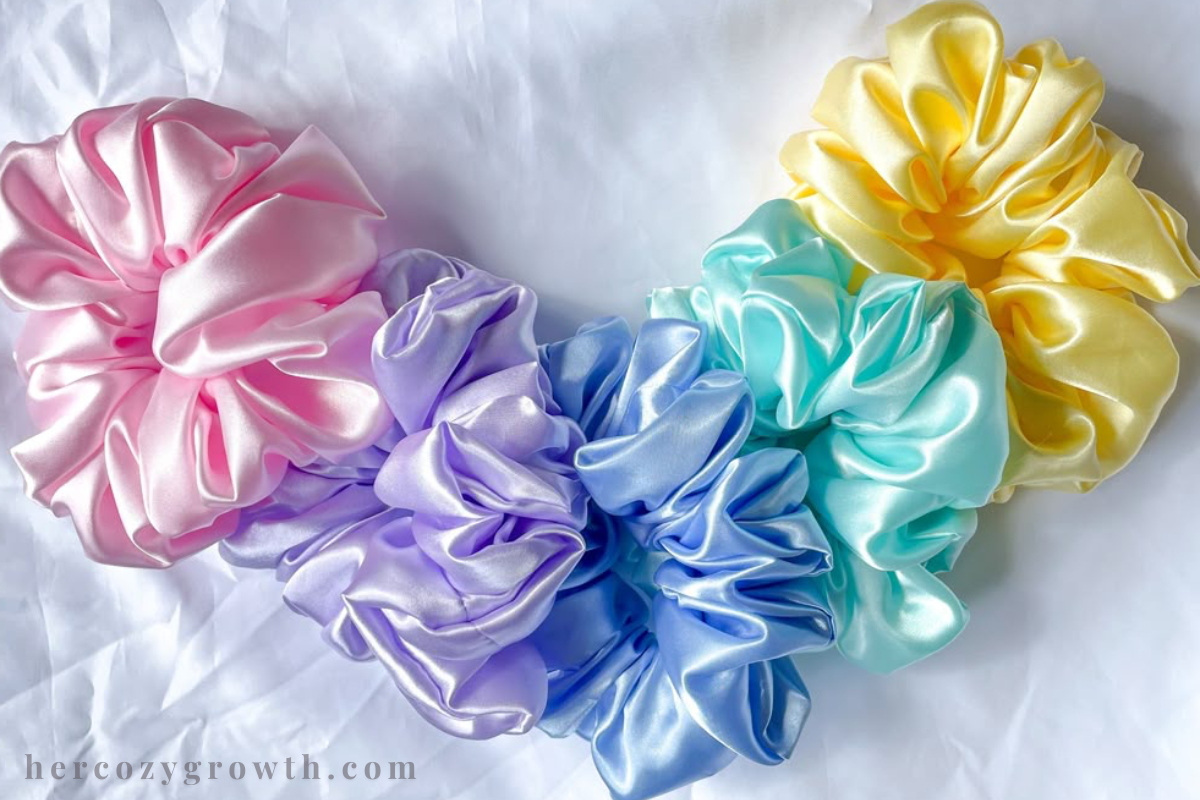
Fabric scrunchies require almost no sewing skills and can be made entirely by hand-stitching if no machine is available. Pick up a fat quarter of fabric (usually $1–2) and cut it into long strips. Fold, stitch, thread elastic through, and you’re done. The whole process takes about 20 minutes per scrunchie and produces something genuinely cute and useful.
Velvet, satin, and floral cotton fabrics all work beautifully and photograph really well if anyone wants to snap a photo of their creations.
7. Watercolor Quote Cards
All you need for this one is a set of cheap watercolor paints (a student set costs $3–5 and is plenty), watercolor paper or thick cardstock, and a fine-tip black marker. Paint a soft wash of color across the paper, let it dry, and then write a favorite quote, mantra, or even just a single word on top with the marker.
These make beautiful desk art, journal covers, or gifts. And because watercolor is inherently a little unpredictable, every card looks unique — no artistic experience needed.
8. Resin Coasters (Budget Version)
Resin can sound expensive and complicated, but a small starter kit (enough for 6–8 coasters) often runs $10–12 split between a group — that’s well under $3 per person. Pour the resin into silicone molds, drop in dried flowers, glitter, or colored pigment, and leave overnight to cure. The results look genuinely luxe.
This is the one on the list that requires a little more prep and ventilation, so do it near an open window. But the payoff — a beautiful set of personalized coasters — is absolutely worth it.
9. Painted River Rocks
If you have access to any outdoor space, collect smooth rocks beforehand. If not, bags of smooth river rocks cost around $3–4 at garden centers or dollar stores. Use acrylic paint to create simple designs — botanical illustrations, abstract color blocks, a word or initial, tiny landscapes. Seal with a coat of Mod Podge and they’re done.
These are endlessly customizable and work at any skill level. A total beginner can paint a simple stripe pattern that looks just as intentional as something more detailed.
10. Tie-Dye Socks (Budget Kit Style)
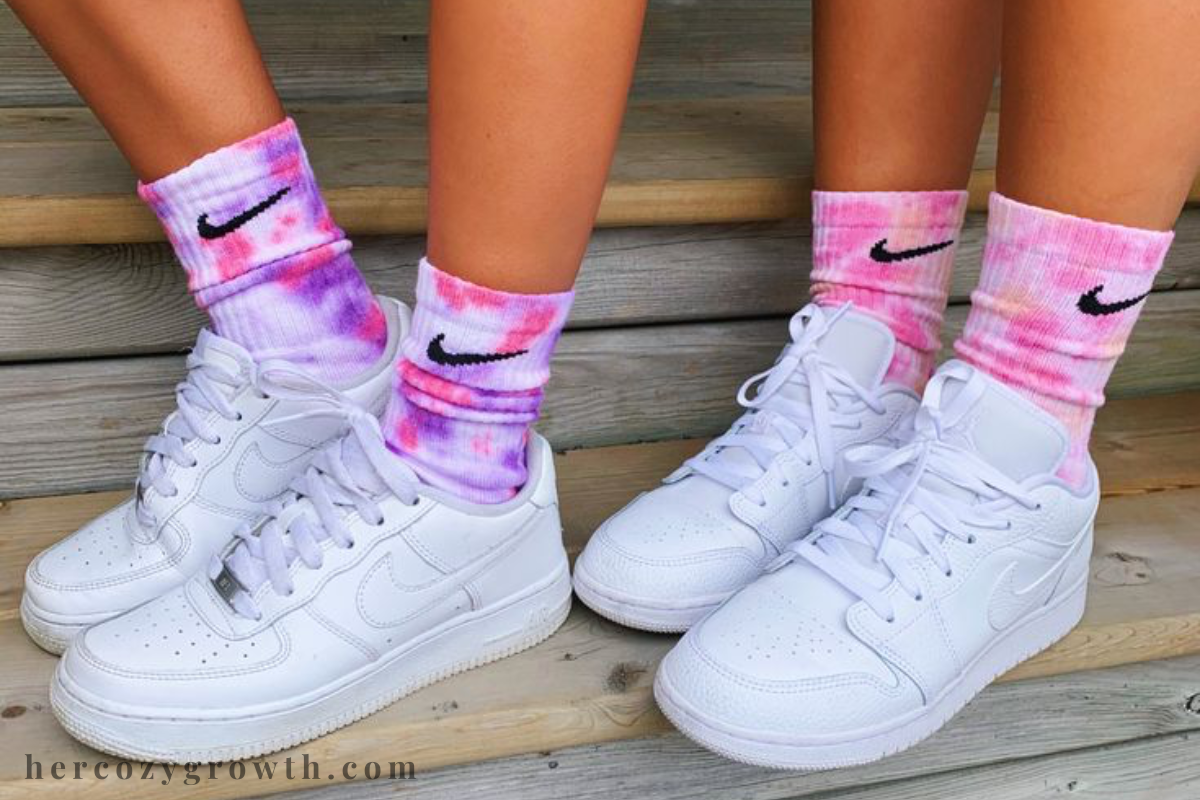
Tie-dye usually means big messes and uncertain results — but socks are a brilliant low-stakes option. They’re small, they dry fast, and a single pack of white socks from the dollar store is $2–3 for the whole group. Use a tie-dye kit (split the cost — one kit usually covers 8–10 pairs) and rubber-band the socks into different patterns before dyeing.
The effect on socks is subtle and wearable in a way that a full tie-dye t-shirt often isn’t. Everyone goes home with something cozy and completely unique.
| Craft | Cost per person | Skill level |
|---|---|---|
| Soy Candles | ~$3–4 | Beginner |
| Air-Dry Clay Dishes | ~$1 | Beginner |
| Pressed Flower Bookmarks | ~$1–2 | Beginner |
| Friendship Bracelets | ~$1 | Beginner |
| Nature-Print Tote Bags | ~$2–3 | Beginner |
| DIY Scrunchies | ~$1–2 | Beginner |
| Watercolor Quote Cards | ~$1–2 | Beginner |
| Resin Coasters | ~$2–3 | Intermediate |
| Painted River Rocks | ~$1–2 | Beginner |
| Tie-Dye Socks | ~$2–3 | Beginner |
Frequently Asked Questions
What are the cheapest crafts to do for a girls night?
The cheapest options are ones that use materials you might already have or that cost almost nothing in bulk. Pressed flower bookmarks, painted rocks, and watercolor quote cards can each be done for under $2 per person. Friendship bracelets with embroidery thread are also a great low-cost option — a full pack of thread costs $4–5 and covers the whole group.
How do I host a craft night on a tight budget?
Choose one project and prep everything in advance — that way there’s no waste and no last-minute shopping. Ask each person to bring one small supply (one person brings cups, one brings the wax, etc.) to split the cost naturally. Dollar stores, Daiso, and Amazon’s craft supplies section are all great places to find affordable materials without sacrificing quality.
Do I need to be crafty to enjoy a girls night craft session?
Not at all. The ideas in this list are specifically chosen because they work for beginners. Anything involving paint, clay, or simple stitching is highly forgiving — imperfections often make the finished piece look more handmade and personal, not worse. The point is to enjoy the process and the company, not to create a perfect product.
What supplies should I stock up on for regular craft nights?
If you plan to host craft nights regularly, a small stash of basics goes a long way: acrylic paints, watercolor paper, embroidery thread, Mod Podge, fabric paint, and a few silicone molds. You can find most of these for under $5 each at craft stores or online. Air-dry clay and soy wax flakes are also worth buying in bulk if you plan to repeat those projects.
Is it worth buying a craft kit for a girls night?
It depends on the kit. Pre-packaged „craft night kits” from boutique brands can cost $30–50 per person, which adds up fast. You’re paying for the packaging, not the materials. It’s almost always cheaper to buy the individual supplies separately — and you get more control over quantities. That said, resin starter kits are a reasonable exception, since resin requires precise ratios and the kit handles that for you.
What’s a good craft night idea for a large group?
Tie-dye socks, painted rocks, and tote bag stamping all scale beautifully to larger groups because everyone works independently and the supplies are easy to spread out. Friendship bracelets also work well since people can chat and craft at their own pace without anyone getting stuck waiting. Avoid projects that require a hot plate or shared equipment for groups over 6.
How long do these craft projects usually take?
Most of these projects take between 30 and 60 minutes, which is the sweet spot for a craft night — long enough to feel satisfying, short enough that there’s still time to talk, snack, and relax afterward. Resin coasters are the exception: the hands-on time is only about 20 minutes, but they need to cure overnight. Everyone takes their molds home and checks back the next day.
Ready to Plan Your Craft Night?
A great girls night doesn’t need an expensive venue or a fancy kit — it needs one good idea, a few inexpensive supplies, and the right people around the table. Pick the project that makes you most excited, prep the materials the day before, and let the evening take care of itself.
Start with whatever feels easiest and most fun to you. The best craft night is the one you actually host, not the perfect one you keep planning in your head.
For more ways to make your time at home feel intentional and cozy, explore our guide on how to romanticize your rest days.


You May Also Like

The Best Money Management Tips Nobody Talks About

60 Spring Bucket List Ideas to Romanticize the Season and Make Every Day Feel Special